
Step-by-Step Guide: How to Shut Off Your Main Water Supply in an Emergency
Knowing how to shut off your main water supply is one of the simplest ways to stop a small problem from becoming a disaster. This guide walks you through what the main shutoff does, where to find common valve types, and a safe, tested sequence to turn the water off and bring it back on without making things worse. You’ll learn how to spot ball and gate valves, what to keep in an emergency kit, when to call a licensed emergency plumber, and how to check for leaks after you restore water. We also cover practical upgrades—like smart leak detectors and automatic shutoffs—that cut future risk. Read on for clear steps, quick decision checks for urgent situations, and maintenance actions to keep your plumbing ready for Michigan winters and sudden failures.
Why knowing how to shut off your main water supply matters
The main shutoff is the single control that separates municipal water from your home’s pipes. Using it right away limits how much water gets into your home, reduces soak time for building materials, and lowers the chance of mold and costly repairs. Knowing valve types and where they’re located gives you the ability to act fast—before finishes, structure, or electrical systems are damaged. The next section lists emergencies that call for an immediate shutoff and offers quick cues to help you decide whether to act now or call for help.
What emergency scenarios require a water shutoff?
Certain failures demand instant action, especially in cold climates where freezing raises the odds of bursts. A burst pipe can flood a room in minutes and needs the main shutoff immediately. Major appliance failures—like a ruptured water heater or a dishwasher hose that splits—also require isolating the water quickly. If you hear water running with no obvious source, or you see water coming through walls or ceilings, those are red flags to stop water at the main and investigate.
- Immediate shutoff scenarios include obvious flooding from burst pipes, continuous high-volume leaks from appliances, and water actively entering walls or ceilings.
- Acting fast reduces how far water spreads and limits repair scope.
- If you suspect a frozen pipe that might burst, shut off the main and call a pro before attempting to thaw it.
These examples show why locating and operating the shutoff matters; the next section explains how shutting off the main prevents cascading water damage.
How prompt shutoff reduces water damage
Turning off the main cuts the total volume of water entering a damaged line and shortens exposure for floors, walls, and possessions—directly reducing mold risk and structural harm. Faster isolation lowers saturation in drywall and framing, which can turn a major restoration into a much smaller repair. Insurance claims and out-of-pocket costs are often lower when homeowners mitigate quickly. Because preparedness matters, the next major section shows how to find and identify your main shutoff valve so you can act without hesitation.
How to locate your main water shutoff valve
The main shutoff is usually where the service line enters the house or at the property edge. Common indoor spots are near the water meter, in basements, crawl spaces, or utility rooms. Outdoor shutoffs are often in a buried meter box or at a curb stop by the street. Being able to tell a lever-style ball valve from a circular gate valve makes operation faster in an emergency. If you can’t find the valve when things are calm, have a pro map your service line and label the shutoff for future emergencies.
Identifying valve features ahead of time helps you operate them correctly when you’re under stress.
| Valve Type | Identification | Common Location |
|---|---|---|
| Ball valve | Lever handle; quarter-turn (90°) closes | Indoors near the meter or main entry pipe |
| Gate valve | Round handwheel; several turns to close | Basements, utility rooms, older homes |
| Curb stop (curb key) | Buried box with removable lid; turned with a curb key | At the street or property edge on the service line |
| Automatic shutoff device | Electronic module with motorized shutoff | Installed near the meter or main line as a retrofit |
What types of main shutoff valves should you know?
Main valves come in a few practical types: ball valves use a quarter-turn lever and are quick and reliable for emergencies; gate valves use a wheel and require multiple turns and can seize if corroded; curb stops sit at the property edge and need a curb key; and automatic shutoffs work with sensors to close the main automatically. Ball valves are preferred for emergency use because they move quickly and resist seizing. Recognizing the type tells you the safest way to close the line in an emergency.
Where are indoor and outdoor shutoffs usually located?
Most mains are where the service line enters the structure—basements, utility rooms, near the water heater, or in crawl spaces. Outdoors, look for a meter box near the property edge or a curb stop near the street. Older homes sometimes have the valve at the foundation wall; newer setups often have a labeled meter box. Use a flashlight and gloves when inspecting tight or dark spaces, and never force a stuck valve. If you can’t find or safely operate the valve, call a licensed plumber for an inspection and labeling service so it’s easy to access in an emergency.
If you’d rather have a pro locate and map your valve, the next section shows the exact shutoff steps and lists essential tools.
- If you want professional valve mapping and labeling, Frost and Kretsch Plumbing offers inspection services to mark your main shutoff for quick access.
- Our licensed, insured technicians serve Macomb, Oakland, and Wayne counties and can save you critical time in an emergency.
- To schedule an inspection or request emergency help, call (586) 675-0097 or visit our Google Business Profile for directions and reviews.
This quick service note explains options for homeowners who want certainty before an emergency occurs.
Step-by-step: How to turn off your main water supply
Shutting off the main follows a short, safety-first routine: gather tools and light, locate and operate the correct valve type, then drain fixtures to relieve pressure and empty pipes. Doing these steps in order prevents water hammer, avoids making leaks worse, and leaves the system ready for repairs. The list below is compact so you can remember it easily in an emergency.
- Gather tools and PPE: Have an adjustable wrench, flashlight, gloves, towels, and a bucket ready.
- Locate the main valve: Confirm whether it’s a lever (ball) or wheel (gate) valve and approach carefully.
- Close the valve: Turn a ball valve 90° or rotate a gate valve clockwise until it seats firmly.
- Drain the system: Open the highest and lowest fixtures to relieve pressure and drain remaining water.
- Verify isolation: Make sure faucets stop running and, if you can access it, the meter shows no flow.
- Call for repairs: Arrange for plumbing repairs or mitigation while the system is isolated.
These steps are short by design—practice them when things are calm so you can act quickly when it matters. The next subsection lists the tools you should keep in an emergency kit and how to use them.
Which tools belong in an emergency water shutoff kit?
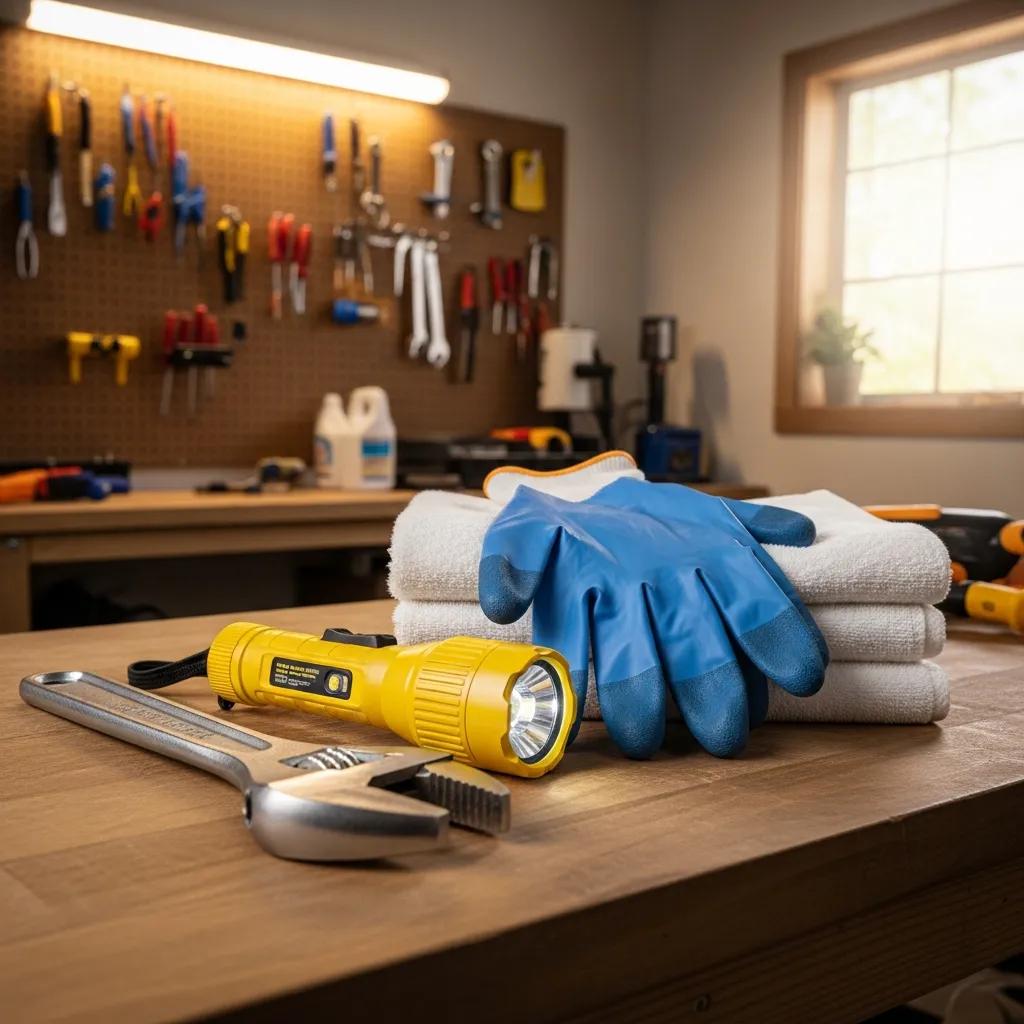
Keep a compact kit near likely valve locations: an adjustable wrench for stuck stems, pliers for small parts, a bright flashlight for dark spaces, heavy gloves, towels and a bucket to catch water, and a phone for emergency calls. The wrench gives you controlled torque on rounded or stubborn stems; the bucket and towels keep water from pooling on finishes. Store the kit where family members can grab it quickly and review basic use during a calm moment.
| Tool | Use | Quick Tip |
|---|---|---|
| Adjustable wrench | Turn valve stems or loosen fittings | Apply steady pressure—avoid rounding fasteners |
| Flashlight | Light meter boxes, basements, and crawl spaces | Keep fresh batteries and a spare light nearby |
| Heavy gloves | Protect hands from sharp edges and cold surfaces | Pick waterproof, cut-resistant gloves |
| Bucket & towels | Contain drained or leaking water | Place towels under likely drips to protect finishes |
| Pliers | Grip small parts or turn valve adapters | Use locking pliers cautiously to avoid damage |
This simple table helps you assemble a functional emergency kit; next we explain the correct mechanics for operating ball and gate valves.
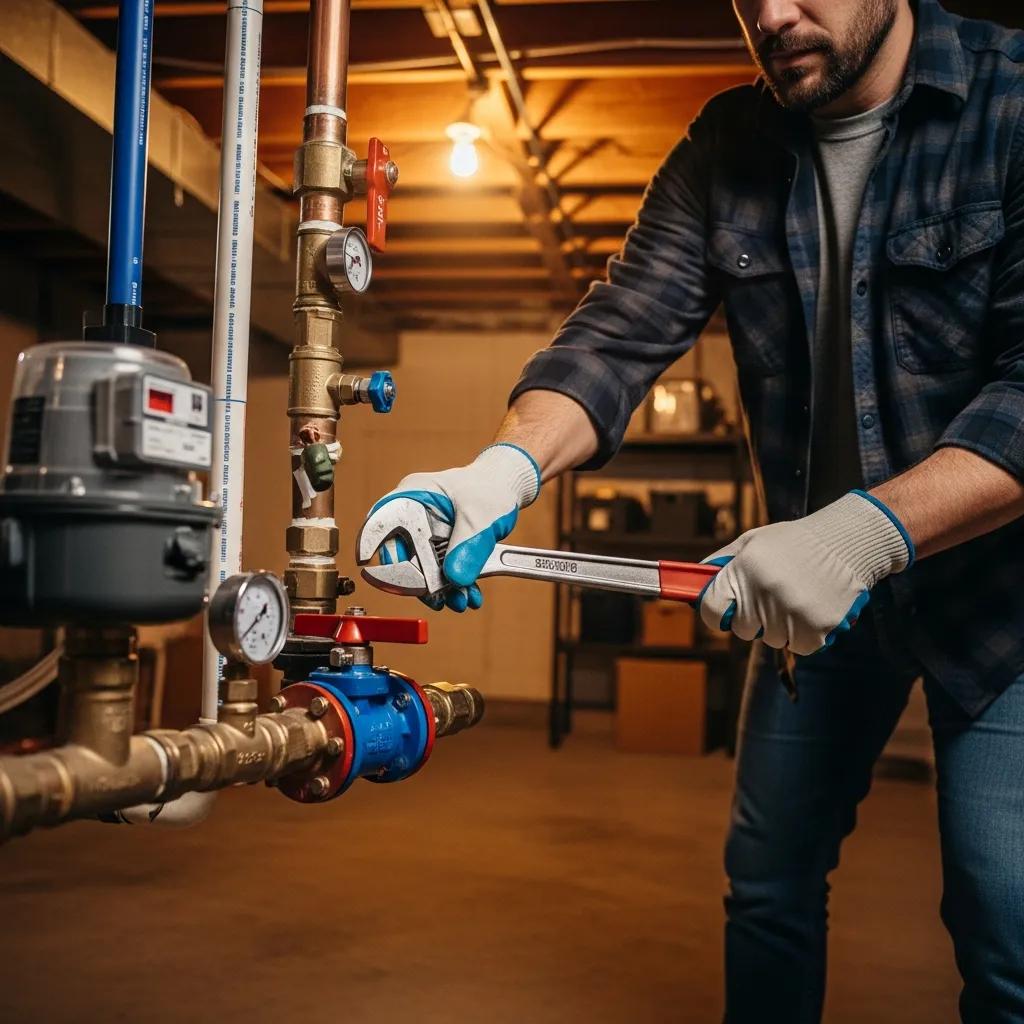
How to shut off ball and gate valves safely
For a ball valve, grip the lever and turn it a quarter-turn until the handle is perpendicular to the pipe—this means the valve is closed and flow stops quickly. For a gate valve, turn the handwheel clockwise in steady, even strokes until you feel the gate seat; don’t force it past firm resistance or you could damage the stem. If a valve is corroded, leaking, or won’t move, stop and call a professional—breaking a valve can create a bigger problem. Knowing how to operate valves and when to stop keeps everyone safer and preserves repair options.
With the water isolated, you should also know when to call a professional. The next section helps you triage and explains what emergency plumbers can do.
When to call a professional emergency plumber
Call a licensed emergency plumber when the job is beyond safe DIY limits: major flooding, visible structural damage, a stuck main valve you can’t operate, or electrical hazards near water. Emergency plumbers safely isolate flow, perform temporary repairs, excavate for service-line access, and complete full restorations while minimizing risk to occupants and property. They also secure the scene, perform a thorough leak search, and recommend next steps—helping you avoid long-term damage. The following subsection lists clear signs that mean you should call for immediate professional help.
What signs require immediate plumbing assistance?
Watch for red flags: rapidly rising water covering floors, water pouring from ceiling fixtures, multiple fixtures still running after you close the main, or a main valve that refuses to move because it’s stuck or corroded. If water reaches electrical panels or appliances, or you smell gas, evacuate and call professionals—those are safety hazards. If any of these occur, shut the main if it’s safe, leave affected areas as needed, and call an emergency plumbing service for fast stabilization.
- Shut the main and call pros if water is rising quickly, you can’t stop the flow, or electrical hazards are present.
- Professional response prevents risky DIY fixes and protects the structure and systems.
- Take photos and note which fixtures are affected—this helps technicians diagnose faster.
Those triage rules lead into how Frost and Kretsch Plumbing supports emergencies in our area.
How Frost and Kretsch Plumbing helps with emergency shutoffs
Frost and Kretsch Plumbing offers 24/7 emergency service with licensed, insured technicians who respond to urgent shutoff and repair calls across Macomb, Oakland, and Wayne counties. Our teams handle isolation, temporary mitigation, and full repairs, with clear pricing and a 100% satisfaction guarantee to give homeowners confidence in stressful moments. If you face a burst pipe or can’t safely operate your main shutoff, call (586) 675-0097 for immediate assistance.
Once the system is isolated and repairs are underway, restoring water safely requires a careful sequence—covered in the next section.
How to safely restore your water supply after a shutoff
Bringing water back on safely prevents pressure surges (water hammer), flushes air from the lines, and helps you find leaks uncovered during the event. The key: reopen the main slowly while watching fixtures and piping for odd sounds or drips. Follow a controlled re-pressurization routine, check visible plumbing, and use the water meter if available to confirm normal flow. The steps below give a clear, safe restoration sequence.
- Close all fixtures: Make sure taps, showers, and appliances are off before you re-pressurize.
- Partially open the main: Move the valve to a quarter-open position and wait 60–90 seconds for pressure to stabilize.
- Open slowly: Gradually move to two-thirds open, then fully open only after confirming steady flow and no leaks.
- Open fixtures low-to-high: Start at the lowest fixture and work upward to bleed air and reduce water hammer.
- Watch the meter and listen: Check the meter for unexpected flow and listen for banging, hissing, or whistling.
These steps reduce shock to the system and lower the chance that a hidden leak gets worse; the next subsection breaks down safe valve reopening in more detail.
How to reopen the main valve without causing damage
First, confirm all fixtures are closed and anyone working on appliances is clear. For a ball valve, move from closed to quarter-open, pause and inspect nearby pipes for drips, then continue to half-open and finally fully open if everything looks normal. For gate valves, advance the handwheel in small increments with pauses to let pressure equalize—never force a stiff valve. If you hear unusual noises, see leaks, or experience pressure spikes while reopening, close the main and call an emergency plumber right away.
Careful reopening sets you up for quick verification; use these checks to confirm system integrity after water returns.
How to check for leaks and pressure problems after restoration
After restoring water, do a quick visual and functional check: look for drips at joints, check under sinks and near appliances, and watch the water meter for movement when fixtures are closed. Test toilets, faucets, and showers for consistent pressure and flow; listen for knocking or surging that could mean trapped air or pressure issues. If the meter shows flow with all fixtures closed, or if you find new or worsening leaks, shut the main and call a professional to avoid hidden damage. These checks confirm a safe return to normal operation and tell you whether further repairs are needed.
With verification complete, the final section covers preventative measures to reduce future emergency shutoffs.
Preventative measures to avoid emergency water shutoffs
Regular maintenance and a few smart upgrades cut the risk of emergencies by keeping valves working and catching leaks early. Annual inspections and exercising the main valve reduce seizure risk, while smart leak detectors and automatic shutoff valves can stop leaks before they escalate. Inspect after freezing weather and replace aging, corroded, or stiff valves when recommended. The table below compares common preventive options so you can choose what fits your home.
| Solution | Activation | Benefit |
|---|---|---|
| Smart leak detector | Electronic sensor senses moisture or abnormal flow | Sends immediate alerts and can prompt quick action |
| Automatic shutoff valve | Sensor-triggered actuator closes the main | Stops water automatically to limit damage when no one’s home |
| Annual inspection & valve exercise | Professional check and manual operation of the shutoff | Prevents seizure, finds corrosion, extends component life |
| Thermal pipe insulation | Insulation applied to vulnerable lines | Reduces freeze-related burst risk in cold climates |
This comparison highlights practical ways to lower emergency risk; the next subsection covers how often to inspect and what simple maintenance to do.
How often should you inspect and maintain your shutoff valve?
Inspect the main shutoff at least once a year and exercise it by opening and closing it slowly to ensure smooth motion. Do another check after prolonged freezing weather or any leak event. Watch for corrosion, visible leaks, or stiffness when turning the valve—those signs mean it may need professional maintenance or replacement. Keep a simple log of inspection dates and findings to track valve health and decide when to call a licensed plumber. Regular care reduces the chance of a stuck valve in an emergency.
Routine inspection pairs well with smart devices—see the next subsection for their benefits.
Why install smart leak detectors and automatic shutoff valves?
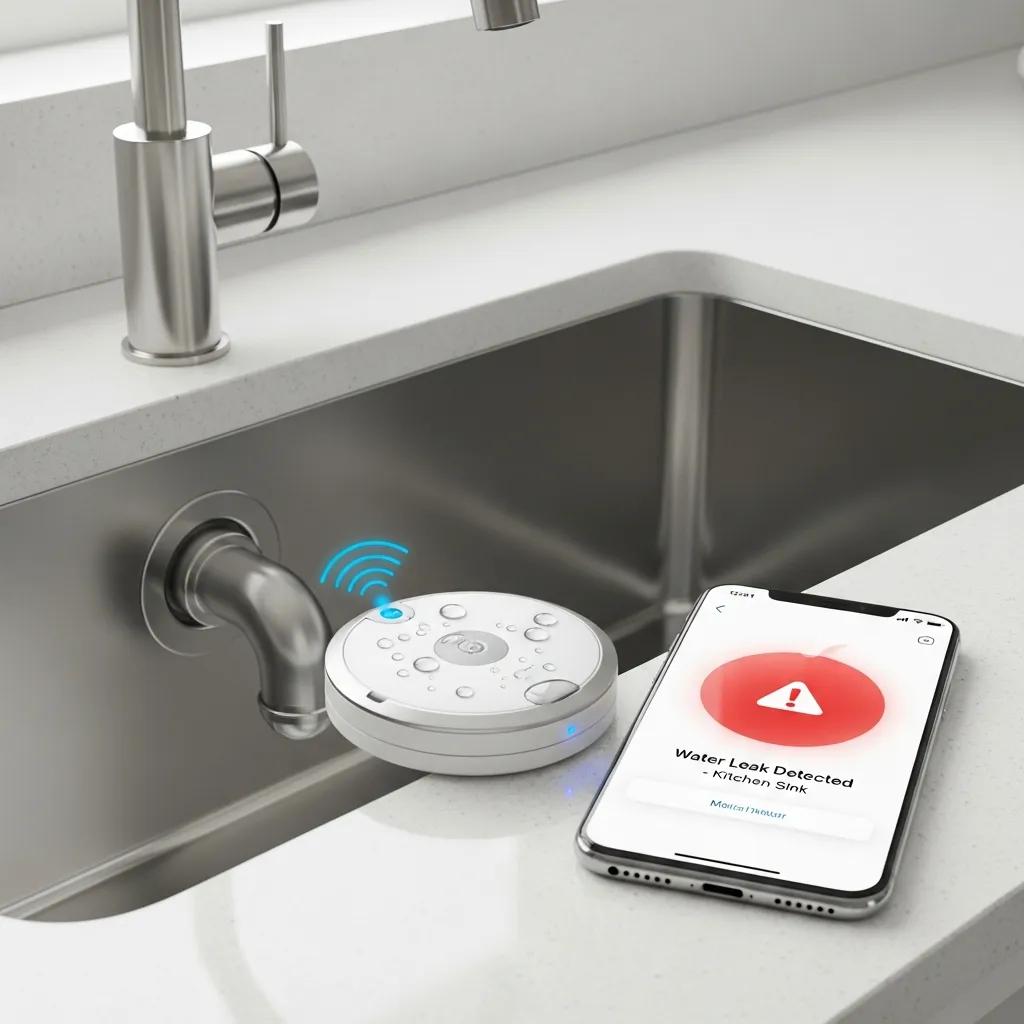
Smart detectors give early warning by sensing moisture or unusual flow and sending alerts—often before you see damage. Automatic shutoff valves add active protection by closing the main when sensors detect a sustained leak, preventing major loss when no one is home. These technologies shorten response time, limit repair scope, and can reduce insurance exposure. For the best protection, pair sensors with scheduled professional maintenance and optional monitoring—combined approaches are the most reliable defense against emergency water events.
- Smart devices find leaks faster than you might and send mobile alerts.
- Automatic shutoffs actively stop flow, which is especially helpful for vacant properties.
- Inspection, sensor installation, and professional support together give the highest reliability.
If you want help choosing or installing preventive equipment or scheduling annual inspections, Frost and Kretsch Plumbing can advise on compatibility and install solutions for your home. Our licensed technicians offer transparent pricing, 24/7 emergency support, and a satisfaction guarantee—call (586) 675-0097 or visit our Google Business Profile for local hours and directions.
This final service note points to professional help as a practical next step after learning the emergency shutoff and restoration process.
Frequently Asked Questions
What should I do if I can't locate my main water shutoff valve during an emergency?
Stay calm and check common places first: basements, utility rooms, near the water meter, or the crawl space. If you still can’t find it, call a licensed plumber right away—trying to hunt for it while water is flooding can waste critical time. After the emergency, have a pro locate and label the valve so it’s easy to find next time.
How can I prevent my main water shutoff valve from seizing?
Exercise the valve at least once a year by opening and closing it slowly to keep parts moving. Schedule annual inspections with a licensed plumber to check for corrosion or wear. Keeping the area clean and, where appropriate, insulating exposed valves in freezing climates will also help prevent seizure.
What are the risks of not shutting off the water supply quickly during a leak?
Delaying shutoff can lead to rapid saturation of walls, floors, and contents—raising mold risk and structural damage. The longer water flows, the more extensive and costly repairs will be. Flooding can also threaten electrical systems and safety. Quick action is essential to minimize damage and expenses.
Are there signs that indicate my main water shutoff valve needs replacement?
Yes. Look for visible corrosion, leaks around the valve, difficulty turning the handle, or irregular water pressure and noises. If the valve feels stuck or shows wear, schedule professional replacement—especially before winter or if you rely on it for emergency isolation.
What should I include in my emergency plumbing kit?
Keep an adjustable wrench, pliers, a reliable flashlight, heavy gloves, towels, and a bucket near likely valve locations. Add a phone or charger and store everything in a box so anyone in the household can grab it quickly during an emergency.
How can I educate my family about shutting off the water supply?
Show family members where the main shutoff lives and explain its purpose. Do a practice drill so everyone knows how to operate the valve and where the emergency kit is stored. Post simple, written steps near the valve as a quick reminder during a real emergency.
Conclusion
Knowing how to shut off your main water supply is one of the best ways to protect your home from water damage. Learn your valve types and locations, keep a small emergency kit, and practice the shutoff and restore sequence so you can act quickly. Consider smart detectors or automatic shutoffs and schedule annual inspections to reduce risk. If you need help preparing or face an emergency, contact Frost and Kretsch Plumbing for expert, local support.